- What is TestInvite?
- Build Your First Test
- Run Your First Assessment
- Taking the Assessment
- Viewing the Results
- Question Bank Overview
- Common Question Features
- Question Types
- Creating Questions
- Organizing Questions
- Content Blocks
- Roles & Access
- Media Library
- Import & Export
- Question Submissions
- Question Bank Schema
- Browsing Questions
- Cloning Questions
- Bulk Updating Questions
- Tests Overview
- My Tests
- Creating a Test
- The Test Editor
- Test Settings
- Sections & Pages
- Adding Questions
- Page Builders
- Test Profile
- Reporting
- Test Papers
- Analytics
- Publishing a Test
- Test Library
- Marketplace
- Tasks Overview
- Creating a Task
- Task Dashboard
- Steps
- Task Settings
- Candidates
- Test Sessions
- Sent Mails
- Proctoring
- Analytics
Taking the Assessment
Experience the full candidate journey — open the assessment link, register, take the test, and submit — so you know exactly what your candidates will see.
Before you send your assessment to real candidates, it is worth going through it yourself. This way you know exactly what the experience looks and feels like, and you can catch any issues before anyone else does.
Step 1: Open the Login URL
Take the login URL you copied from the Task dashboard in the previous step and open it in an incognito window. This ensures you are not logged in as an admin, so you see the pure candidate view.
Recommended: 1200 × 700 px PNG
You will see the assessment entrance page — branded with your organization logo and colors. This is the first thing every candidate sees.
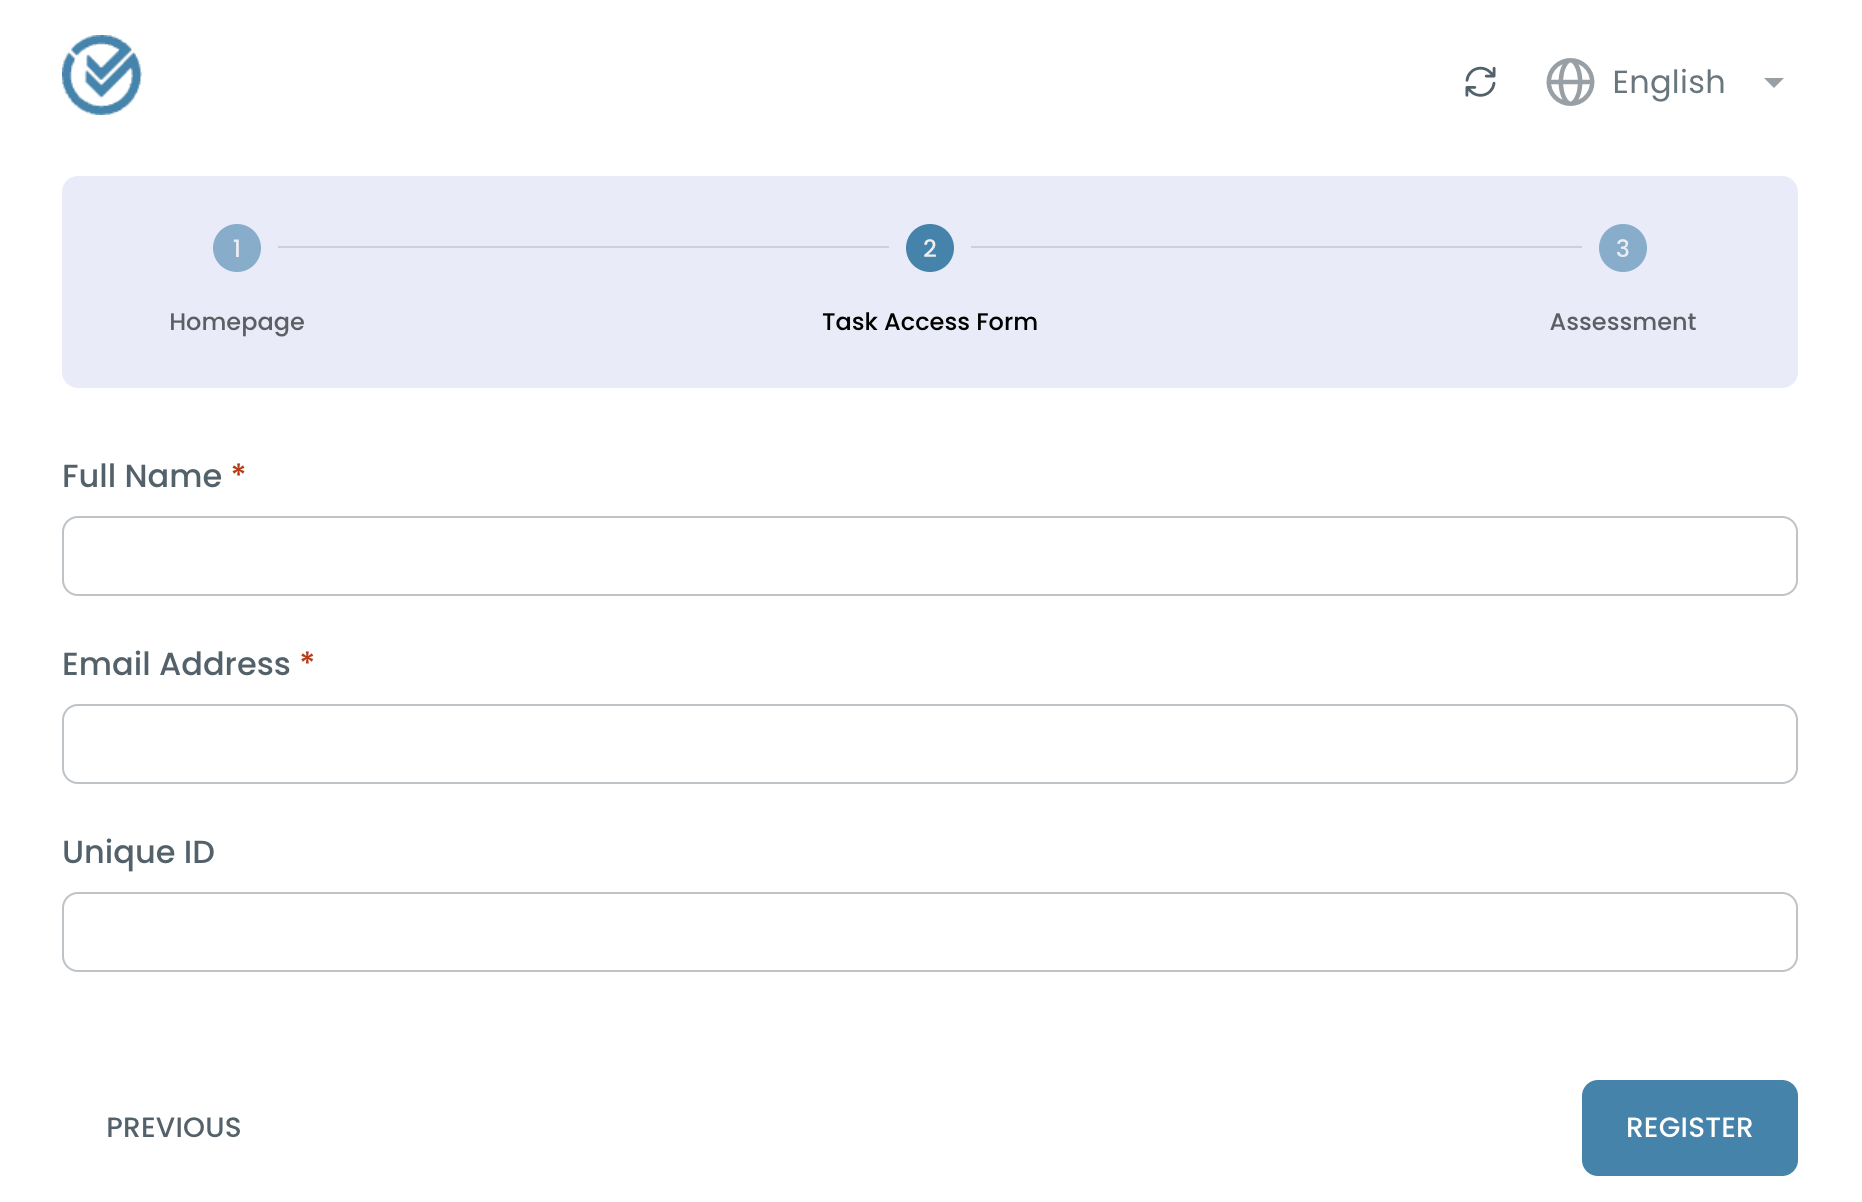
Step 2: Register
Because you set up the Task with Open access (self-registration), candidates register themselves on this page. You will be asked to fill in a short form — typically your name and email address.
Fill in the form and submit. TestInvite creates a candidate profile for you and logs you in automatically.
Step 3: Go Through the Assessment
After registering you enter the workspace — the candidate’s personal assessment area. From here you proceed through the steps configured in your Task. For a basic Task with no extra steps, you will go straight into the test.
Answer the questions and navigate through the pages using the Next button. When you reach the last question, submit the test.
Recommended: 1200 × 700 px PNG
Each candidate session is independent. Even though you are testing with your own email, your result will appear as a regular candidate result in the Task dashboard — exactly as a real candidate’s would.
Your Assessment is Submitted
Once submitted, the test is scored automatically and the result is saved. In the next step you will switch back to the admin view and see that result appear in the Task dashboard.