
- What is TestInvite?
- Build Your First Test
- Run Your First Assessment
- Taking the Assessment
- Viewing the Results
- Question Bank Overview
- Common Question Features
- Scoring
- Question Types
- Question Authoring
- Browsing Questions
- Content Blocks
- Media Library
- Metadata Rules & Schema
- Tests Overview
- My Tests
- Creating a Test
- The Test Editor
- Test Settings
- Sections & Pages
- Adding Questions
- Page Builders
- Test Profile
- Reporting
- Test Papers
- Analytics
- Publishing a Test
- Test Library
- Marketplace
- Tasks Overview
- Creating a Task
- Task Dashboard
- Steps
- Task Settings
- Candidates
- Test Sessions
- Sent Mails
- Proctoring
- Analytics
- Analytics Overview
- Test Analytics
- Question Analytics
- Per-Question Analytics
- Results Explorer
- Segment Analysis
Run Your First Assessment
Create a Task from your test, configure basic access, and launch your first real assessment.
You have a test ready. Now let’s turn it into a live assessment. The quickest way is to do it directly from the test editor — no need to navigate away.
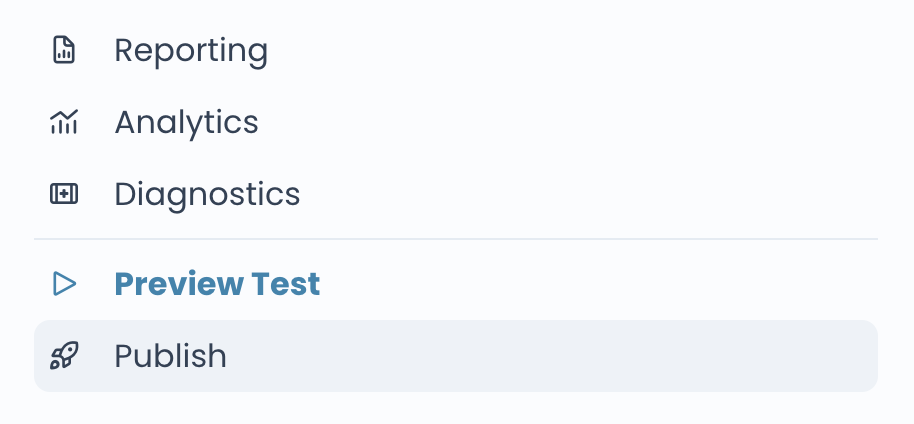
Step 1: Click Publish in the Test Editor
Inside the test editor, find the left navigation panel and click Publish. This opens the Task creation wizard, already pre-linked to the current test.
Step 2: Set Up the Task
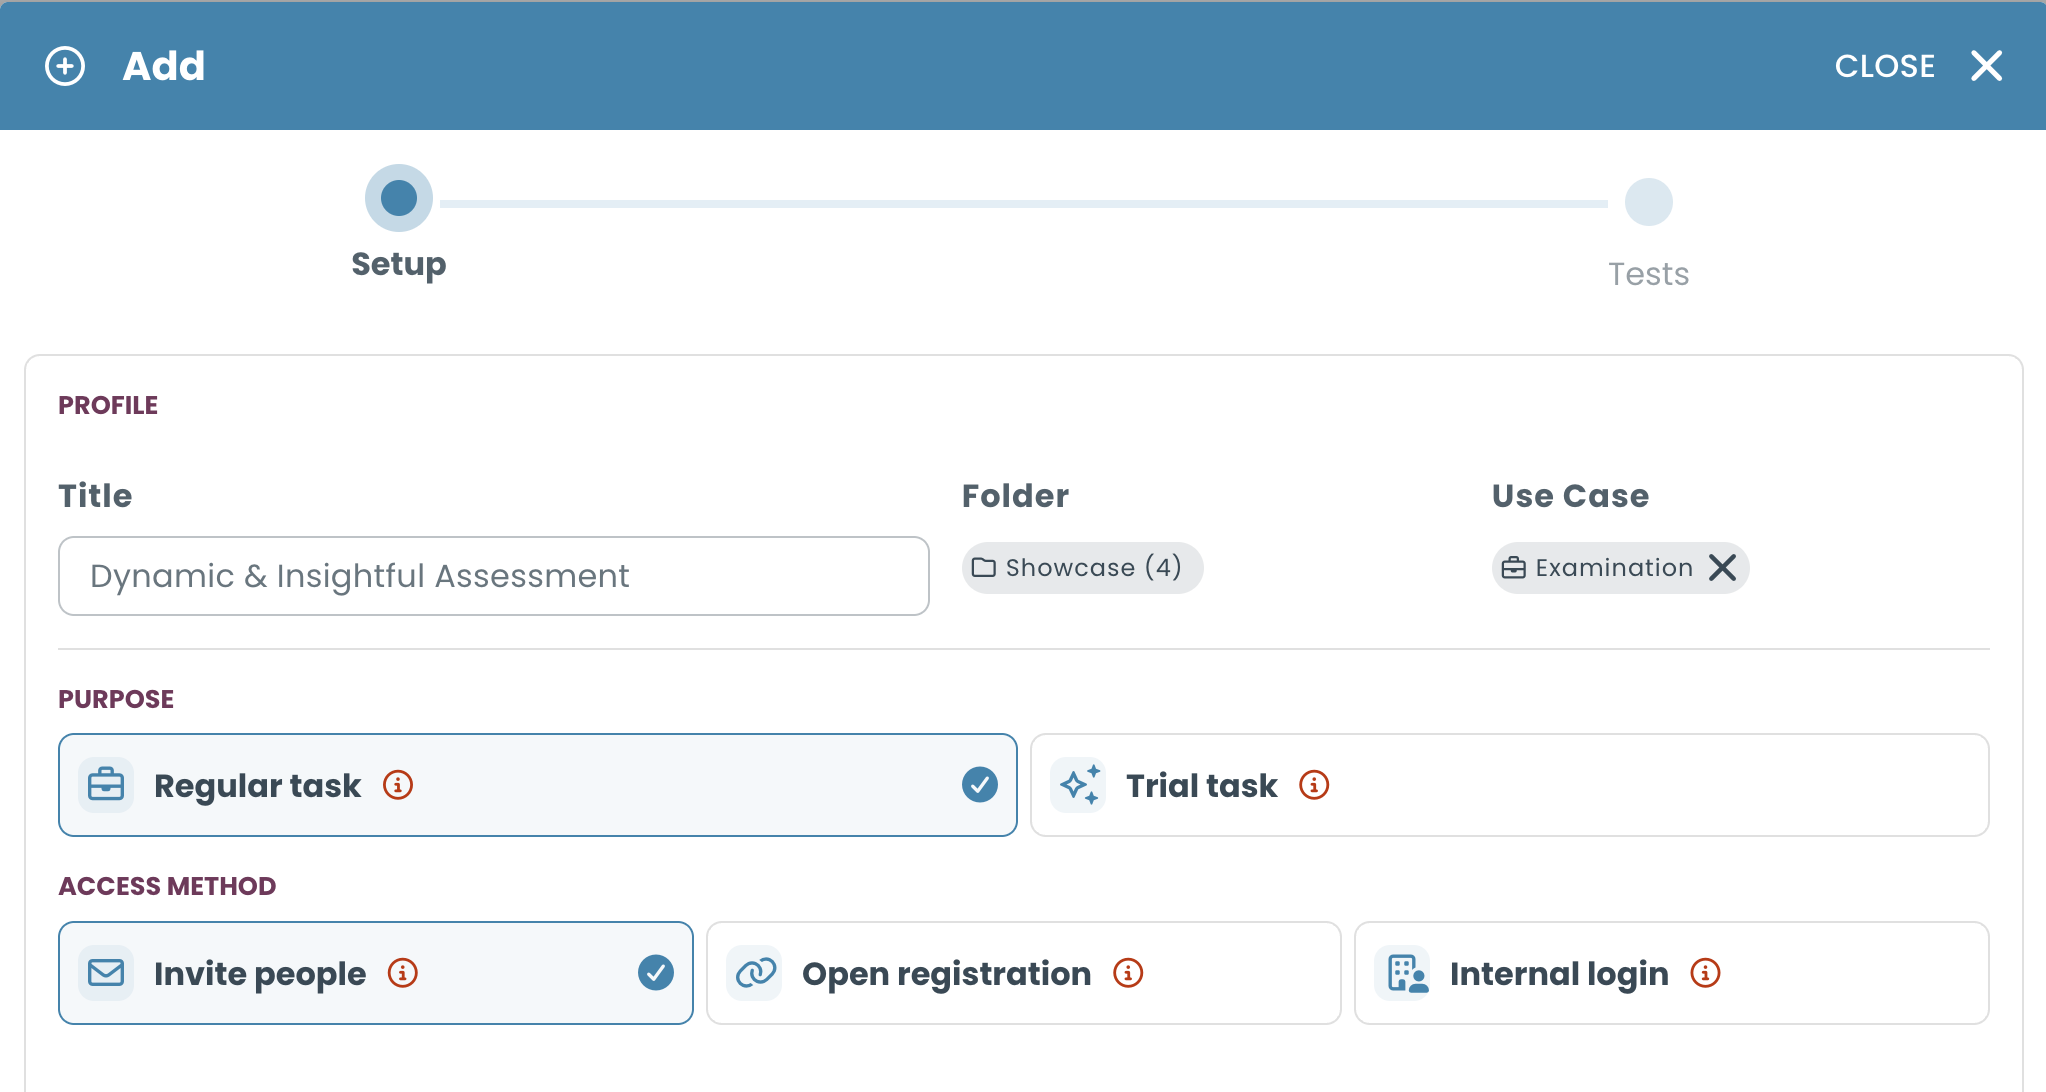
The wizard opens at Step 1: Setup. Fill in the following:
- Title — give your Task a name, for example “My First Assessment”.
- Folder — leave it as “general” for now.
- Use Case — select what best describes your assessment, such as “Examination”.
- Access — select Open (self-registration). This gives you a public link anyone can use to access the assessment — the simplest option to get started.
Click Next to proceed.
Step 3: Confirm the Test
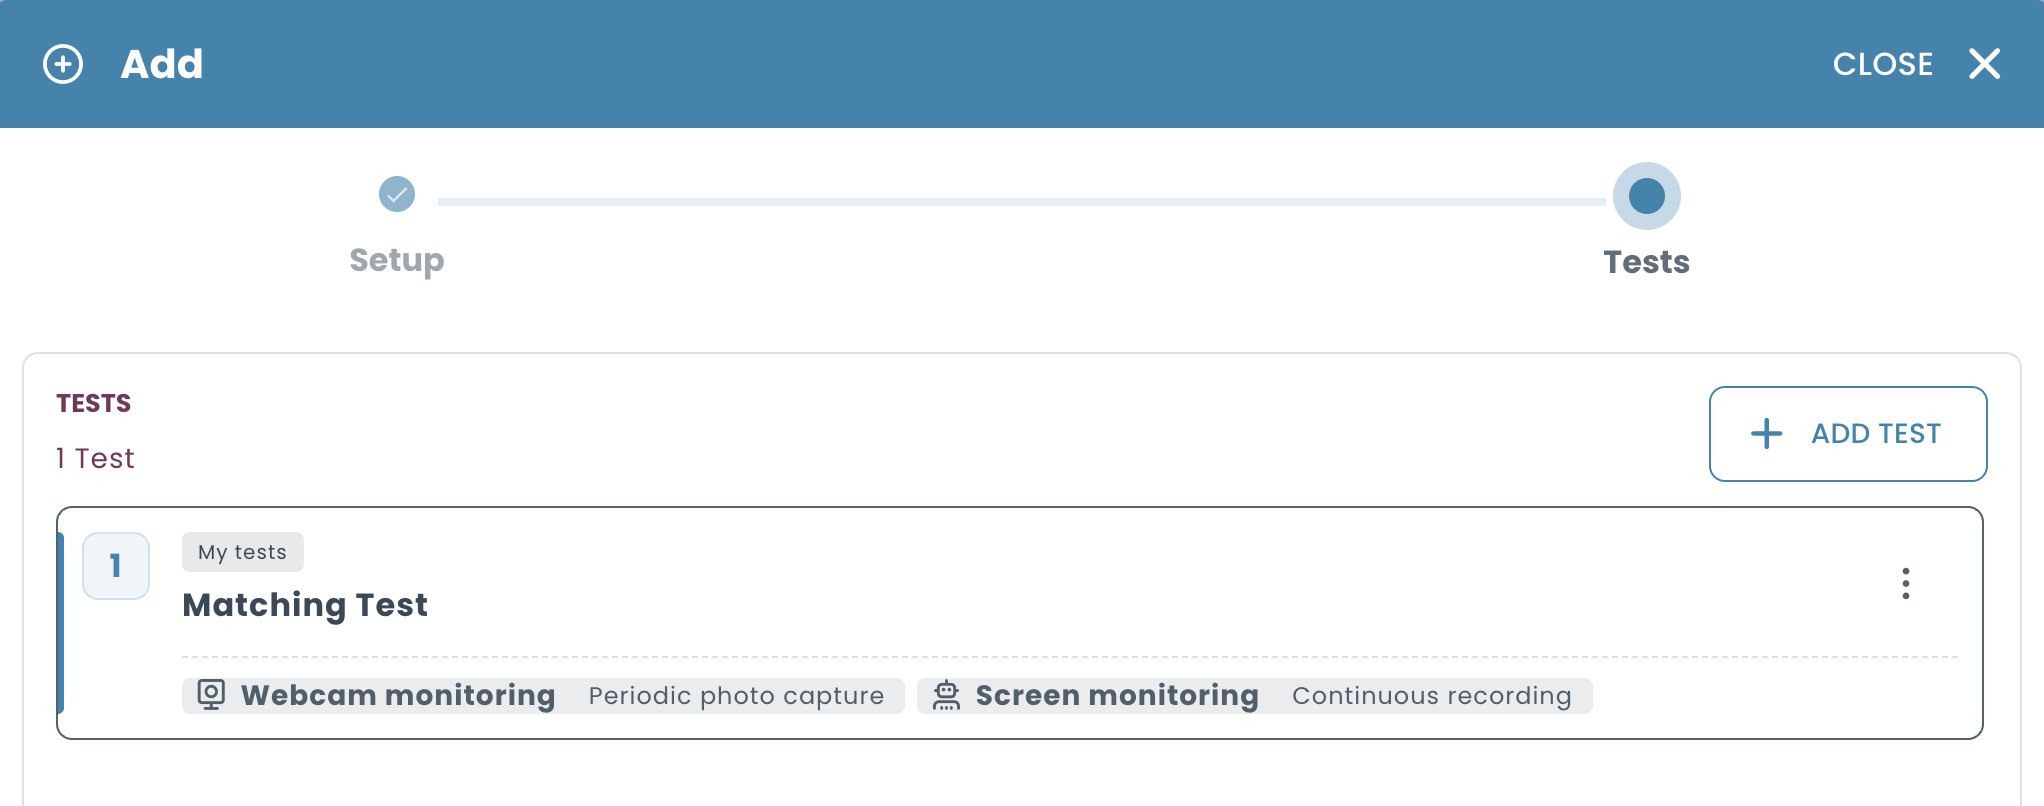
The wizard moves to Step 2: Tests. Because you opened the wizard from the test editor, your test is already added. You can see it listed as a step in the assessment.
Click Create Task. Your Task is created and you land on the Task dashboard.
Step 4: Get the Assessment Link
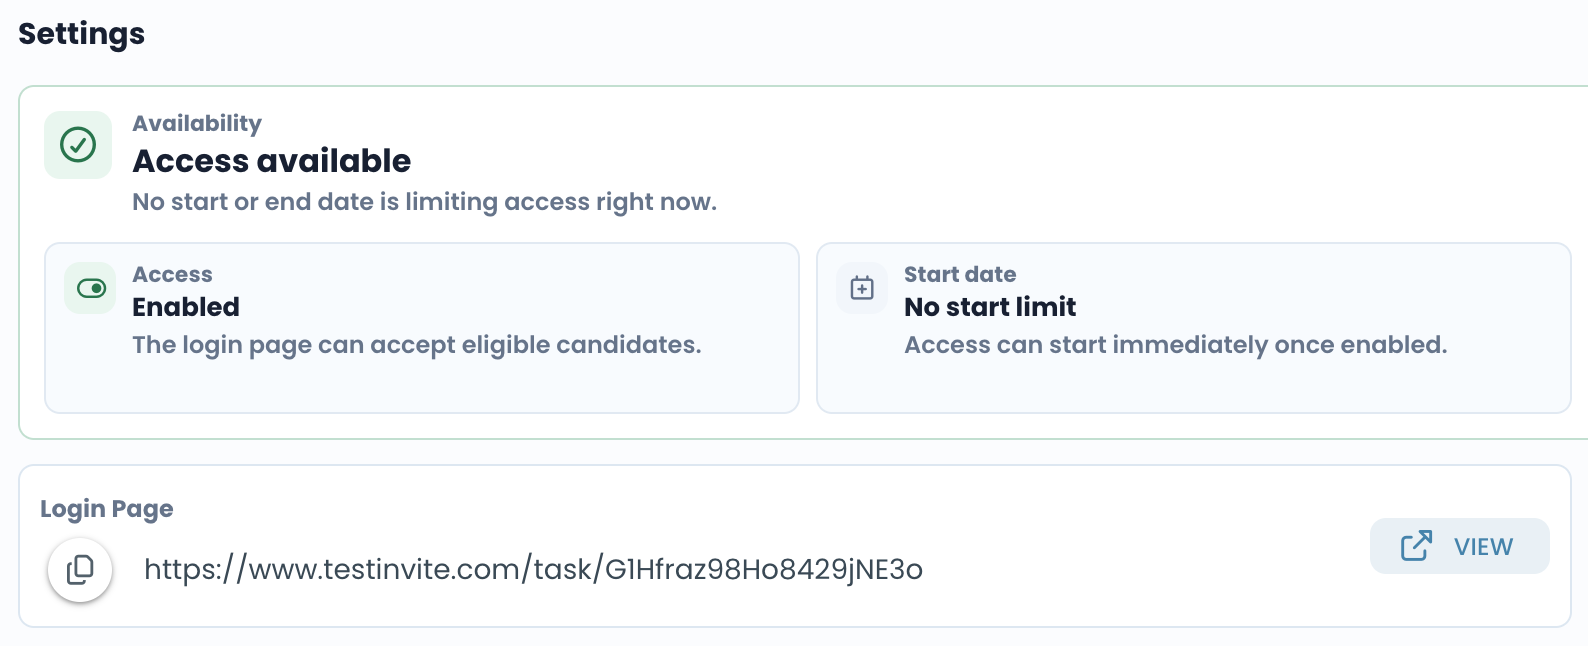
On the Task dashboard, find the Login Page button and click Copy URL. This is the direct link candidates will use to access their assessment.
Open the link in an incognito window to see exactly what a candidate sees — the welcome screen and the test itself.
Each test session consumes credits. The base cost is 1 credit per session, but security features add to that — for example, webcam video recording adds 8 credits, screen recording adds 8, and AI cheating detection adds 5. Your trial account includes free credits so you can test the full flow end-to-end.
Need to invite specific candidates by email with unique access codes instead of a public link? That’s pre-registration — covered in the Tasks & Assessments chapter.
Your Assessment is Live
Candidates can now access your assessment via the link. In the next step, you will invite a real candidate and track their participation from the Task dashboard.