- What is TestInvite?
- Build Your First Test
- Run Your First Assessment
- Taking the Assessment
- Viewing the Results
- Question Bank Overview
- Common Question Features
- Question Types
- Creating Questions
- Organizing Questions
- Content Blocks
- Roles & Access
- Media Library
- Import & Export
- Question Submissions
- Question Bank Schema
- Browsing Questions
- Cloning Questions
- Bulk Updating Questions
- Tests Overview
- My Tests
- Creating a Test
- The Test Editor
- Test Settings
- Sections & Pages
- Adding Questions
- Page Builders
- Test Profile
- Reporting
- Test Papers
- Analytics
- Publishing a Test
- Test Library
- Marketplace
- Tasks Overview
- Creating a Task
- Task Dashboard
- Steps
- Task Settings
- Candidates
- Test Sessions
- Sent Mails
- Proctoring
- Analytics
Build Your First Test
Create a test, add questions across multiple pages, and preview it as a candidate — all in a few minutes.
By the end of this page you will have a working test with questions spread across two pages, ready to be previewed and assessed. It takes about five minutes.
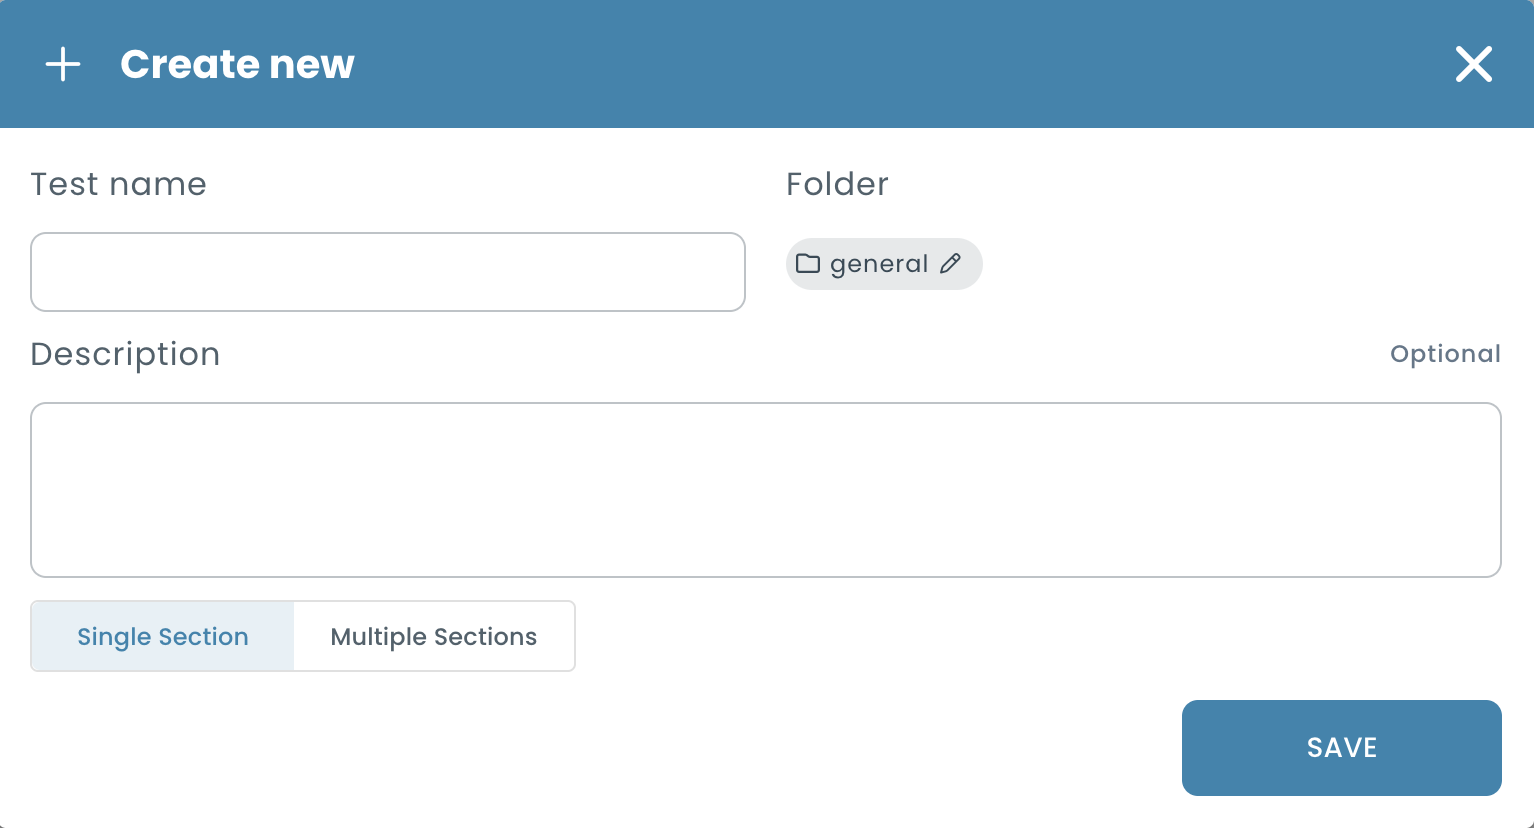
Step 1: Create a Test
From the left navigation, click Tests then click Create. Give your test a name — something like "My First Test" is fine for now — and confirm. The test editor opens immediately.
You will see your test already has one default section and one default page inside it. Think of pages as the individual screens a candidate sees as they progress through the test. You will add your questions to these pages.
Step 2: Add Questions to the First Page
Click on the first page to open it, then click Add Question. You will be asked to choose a question type. For now, select Multiple Choice.
- Write your question in the Question field — for example: "What is the capital of France?"
- Add answer choices: Paris, London, Berlin, Madrid.
- Mark Paris as the correct answer.
- Click Save.
Want to move faster? In the Multiple Choice editor, click the Generate button and type a prompt — for example: "5 multiple choice questions about photosynthesis, intermediate level" — and AI will create a complete question for you instantly. It is a great way to populate your test quickly.
Add one or two more questions the same way. They can be about anything — the goal is just to have a few questions on this first page. Each question you add appears in the page in the order you created it.
Every question you create inside a test is automatically saved to your Question Bank — so you can reuse the same questions across multiple tests, or create question pools to randomize which questions each test-taker receives.
Step 3: Add a Second Page
Now let’s add a second page so candidates get a new screen partway through the test. In the test editor, look for the Add Page button within your section and click it. A new empty page appears below the first one.
Click on the new page to open it. Just like before, click Add Question and add one or two more questions. This page now has its own content — when a candidate finishes the questions on page one, they will move on to page two.
Step 4: Preview the Test
Before running a real assessment, it is always worth previewing the test to see exactly what candidates will see. Click the Preview button in the test editor toolbar.
The preview opens in a new tab and loads the full candidate experience — questions, navigation buttons, and page transitions. Work through the questions yourself and submit. Notice how page one and page two appear as separate screens.
The preview does not consume credits and does not create a real result record. Use it freely whenever you want to check how the test looks and flows.
Your Test is Ready
You now have a test with two pages of questions and you have seen it exactly as a candidate would. In the next step, you will create an assessment around this test and run it for real.