
Getting Started
- What is TestInvite?
- Build Your First Test
- Run Your First Assessment
- Taking the Assessment
- Viewing the Results
- Question Bank Overview
- Common Question Features
- Scoring
- Question Types
- Question Authoring
- Browsing Questions
- Content Blocks
- Media Library
- Metadata Rules & Schema
- Tests Overview
- My Tests
- Creating a Test
- The Test Editor
- Test Settings
- Sections & Pages
- Adding Questions
- Page Builders
- Test Profile
- Reporting
- Test Papers
- Analytics
- Publishing a Test
- Test Library
- Marketplace
- Tasks Overview
- Creating a Task
- Task Dashboard
- Steps
- Task Settings
- Candidates
- Test Sessions
- Sent Mails
- Proctoring
- Analytics
- Analytics Overview
- Test Analytics
- Question Analytics
- Per-Question Analytics
- Results Explorer
- Segment Analysis
Question Bank
Content Editor
Images
Insert an image by uploading a file, picking one from the Media Library, or pasting a URL — then click any inserted image to resize, replace, or caption it.
Updated 2026/08/04
Click the image button in the toolbar to embed an image in the question prompt. A dialog opens where you can choose the source and configure display options.
Adding an image
- Upload — drag a file into the dialog or click to browse. Supported formats: JPEG, PNG, GIF, WebP, SVG.
- Media Library — pick an image already uploaded to your organization's Media Library. Use the history list for images you have already used in this question.
- URL — paste a direct image URL to embed an externally hosted image.
Preparing an Uploaded Image
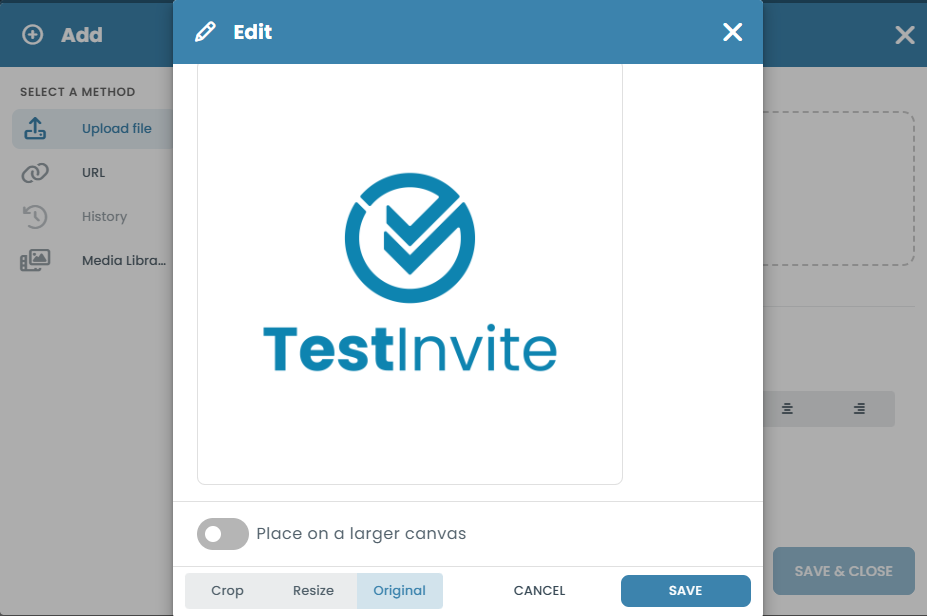
After uploading an image, an editing dialog opens before the image is inserted. You can keep the original image, crop it, or resize it. Additional controls let you rotate or flip the image, place it on a larger canvas, and select an output format such as JPEG, PNG, or WebP.
Review the output dimensions and file size, then click Save to continue.
Tips
- Upload to the Media Library first so the same image can be reused across multiple questions without re-uploading.
- Avoid pasting images directly from the clipboard — the editor does not support data-URI images and will show a validation error.
- Use descriptive alt text (the caption field) so the image is accessible to screen readers.