
Setting Up Your Organization
Essential configurations needed to customize your organization.
Welcome to your organization's management panel! Setting up your organization is the first and most crucial step in ensuring a seamless experience. This guide will walk you through the essential configurations needed to customize your organization, manage compliance settings, and establish the foundational structure of your organization.
Overview
By setting up your organization correctly, you will:
- Ensure a consistent branding experience across the platform
- Establish consent agreements and compliance policies
- Configure system settings such as time zones and default email addresses
- Manage account roles and permissions efficiently
- Set up credit balance alerts and subscription preferences
Each of these areas is covered in detail in the following
sections.
Organization Menu Overview
Below is an overview of the Organization menu, where you can access all essential settings to configure your workspace. Each section within this menu corresponds to the topics covered in this guide.
Organization ID
An Organization ID is a unique identifier automatically generated by our system for each account created on our platform. This ID is exclusive to your organization (such as a company, team, or user group) and helps us quickly locate your account when you contact our support team.
Why is it important?
- It allows us to find your account quickly within our system.
- Ensures accurate review of your custom settings, data, and permissions.
- Serves as a more secure reference point than usernames or email addresses.
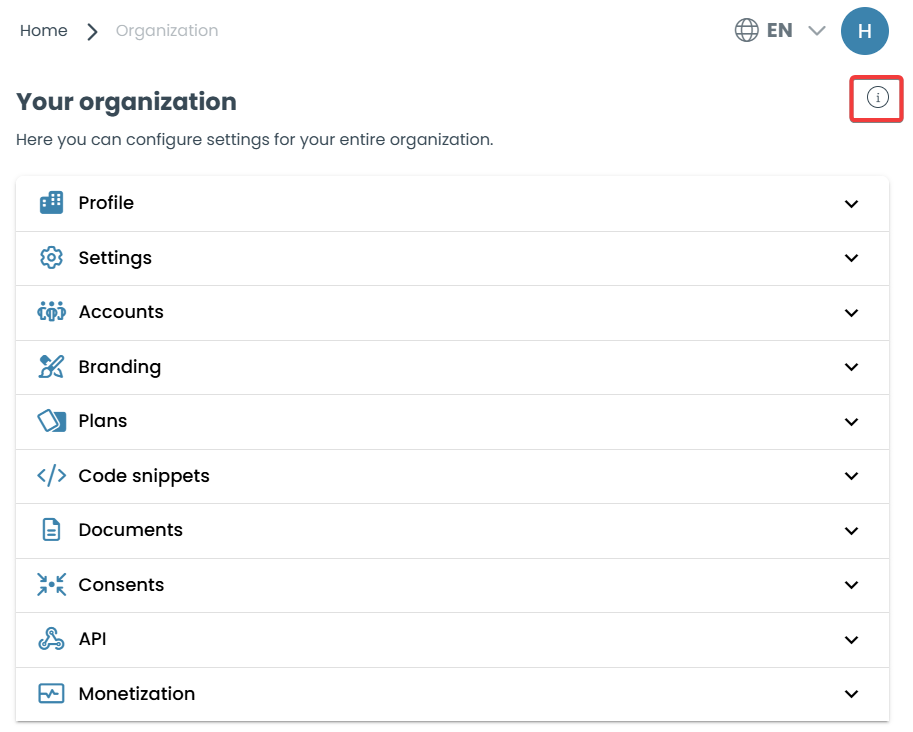
Where can you find it?
After logging into the platform, you can view your Organization ID by navigating to the Organization menu and clicking the icon highlighted with a red box in the image above.
Key Setup Sections
General Settings
Configure essential system settings such as your organization's time zone and default reply-to email address. Ensuring these settings are accurate will prevent communication issues and ensure consistency across your platform.
Continue to General Settings
Configuring Consent Process
Set up and manage consent agreements to ensure compliance with data privacy policies. This includes uploading consent forms, defining acceptance criteria, and tracking user acknowledgments.
Continue to Configuring Consent Process
Branding
Customize the look and feel of your organization’s workspace by uploading a company logo, selecting brand fonts and colors, and configuring branding settings for login and assessment pages.
Continue to Branding
Plans & Credits
Manage your organization's subscription plan, track and purchase testing credits, and configure credit balance alerts to ensure uninterrupted access to TestInvite services.
Continue to Plans & Credits
Users & Collaboration
Set up and manage accounts, assign predefined roles and permissions, organize accounts into teams, and configure access control settings to streamline collaboration.
Continue to Users & Collaboration
Monetization
Enable and configure monetization options to generate revenue from tests, manage payment settings, and track your sales and earnings efficiently.
Continue to Monetization
Frequently Asked Questions (FAQ)
Yes! You can modify most settings at any time from the Organization menu.
Navigate to the Branding section where you can upload logos, set colors, and customize login pages.
Consent agreements can be managed under Consents, where you can upload and track all necessary compliance documents.
Start by setting your time zone and reply-to email address under Settings to ensure all communication functions correctly.